Posted on

{Recipe} Dr. Yee’s Fire Cider Brew

First, hand sanitizer became liquid gold. Then toilet paper, another commodity whose worth has skyrocketed all in an effort for people to feel safe and well-stocked.  Now, herbal and nutraceutical solutions for improved immunity have also flown off the shelves of health food stores. Finding them online has proven to be just as difficult.  Everything is BACKORDERED.  

In every single conversation I’ve had with patients these past few weeks, everyone wants to know what they can do to improve how well their immune system can prevent infection.   Recently, Dr Susan Blum had given her tips to boost immunity, and it’s a great start. If you are having a hard time procuring any of these products, read on for what I do personally to boost my immune system. 

For years, I have been taking a simple regimen of medicinal mushrooms at high doses. This year, long before coronavirus became the prevailing thought in each and everyone minds, I added a tablespoon of fire brewed apple cider vinegar to my regimen each evening and I have to say it has been extremely effective.  Granted, this is a “N-of-1” anecdotal report, but I feel quite strongly about it.  

Apple cider vinegar has been used as one of most common home remedies for a wide variety of health conditions from reflux to yeast infections to sunburns.  There is some pre-clinical data showing its efficacy as an anti-viral, anti-fungal and anti-bacterial agent but there is no hard clinical proof here. Typically I don’t recommend things without some level of evidence but here we are – empty shelves and backordered items.  It’s been working for me and its dirt cheap! 

You can find locally crafted concoctions of Fire Cider in health food stores and farmers markets but I like to make it at home.  Try this recipe while you are home social distancing and in a few short weeks you’ll have your own Fire Cider brew to boost your immunity as we get back to normalcy.  Wishing you good health! 

Recipe: Fire Cider Brew

(adapted from Rosemary Gladstar’s recipe)

Ingredients:

  • ½ cup grated fresh horseradish root
  • ½ cup or more fresh chopped onions
  • ¼ cup or more chopped garlic
  • ¼ cup or more grated ginger
  • 1 Tbs Turmeric 
  • 2-3 Tbs Honey
  • Chopped fresh or dried cayenne pepper ‘to taste’. Can be whole or powdered. 

Directions: 

  1. Place herbs in a half-gallon canning jar and cover with enough raw unpasteurized apple cider vinegar to cover the herbs by at least three to four inches. Cover tightly with a tight fitting lid.
  2. Place jar in a warm place and let it sit for three to four weeks. Best to shake every day.  
  3. After three to four weeks, strain out the herbs, and reserve the liquid.
  4. Add honey ‘to taste’. Warm the honey first so it mixes in well. 
  5. Rebottle and enjoy! Fire Cider will keep for several months unrefrigerated if stored in a cool pantry. 
Posted on

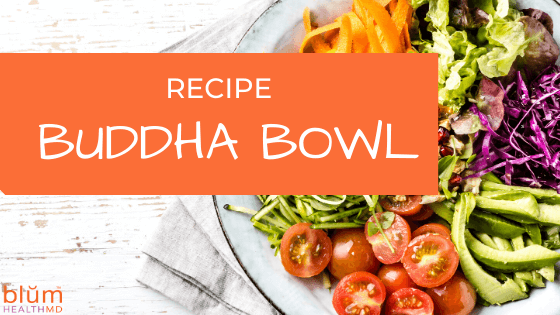
Try Our Joint-Healthy, Body-Loving Winter Reboot Buddha Bowl

Now that the holidays are behind us, you might be feeling all the holiday cheer has left you feeling, well, a little less cheery. If you ate a little too much, if you drank a little more than usual, you might be experiencing bloating, headaches and even creaky joints. Not to worry! Here’s our nutritious, comforting Buddha Bowl to the rescue.

Chock full of wintery goodness, this recipe will not only soothe your soul, but will also leaving you feeling nurtured and full. What could be better on a cold wintery night?

One of my favorite things about this bowl is how adaptable it is. Add your favorite vegetables or beans. (I often add pre-cooked lentils that I find in the produce section of the grocery store. Super easy!) You might want to add some other toppings. Here are some of my favorites: hummus, cilantro chutney, avocado, microgreens. Yum!

While we’re on the topic of joint-healthy food … Save The Date!  Dr. Susan Blum, our pioneering Functional Medicine doctor and author of Healing Arthritis, and myself will be leading the Healing Arthritis Challenge starting Feb 14th! Learn more here. 


Buddha Bowl with Lemon Tahini Sauce (serves 6)

  • 2 cups of cubed winter squash
  • 1 pint mushrooms, washed and trimmed
  • 2 medium beets, peeled and cubed
  • Extra virgin olive oil
  • salt and pepper
  • 1 cup quinoa, rinsed and drained
  • 1¾ cup water
  • 1 onion, thinly sliced
  • 1½ Tbsp sesame seeds 
  • 12 Tbsp roasted walnuts 

Optional: sprouts, minced avocado, cilantro, toasted nori strips

Preheat oven to 375°F. 

  1. Toss the squash with 1-2 Tbsp of olive oil, salt and pepper and lay out on a parchment-lined baking sheet. Repeat with mushrooms and beets, keeping them separate. Roast in the oven until fork tender (time will vary for each vegetable). 
  2. Add the quinoa, water and a pinch of salt to a small pot. Lower the heat, cover the pot and simmer for about 12-15 minutes or until the water is absorbed. When the quinoa is done, fluff with a fork and recover for 10-15 minutes. 

While the quinoa is cooking, heat 2 Tbsp of olive oil in a large sauté pan on medium high heat and add the onions. Without stirring, let the onions brown or caramelize. Stir the onions and continue to cook on a low heat, about 10 minutes. 

  1. In a large bowl, whisk together Lemon Tahini Sauce (recipe follows) ingredients. 
  2. To serve, place ½ cup quinoa in a bowl and add the onions as well as each vegetable around the quinoa. Garnish with your desired toppings and drizzle the tahini sauce on top. 

Lemon Tahini Sauce (makes 1 ½ cups)

  • ¾ cup hot water 
  • ½ cup tahini 
  • ¼ cup lemon juice 
  • 2 tsp grated ginger 
  • 2 tsp honey 
  • ¼ tsp salt  
  1. In a small saucepan, heat the water. Add the tahini, lemon, ginger, honey and salt, and whisk until smooth and pourable. 

If you want to start the new decade (Yikes! 2020!) taking control of your arthritis to live a pain-free life, attend Dr. Blum’s FREE 1-hour Masterclass: How to Heal Your Joint Pain in 3 Easy Steps on Tuesday, January 21st at 8pm. It is the only time this year she will be leading this class.  Join Now!

Meet Melissa: Melissa Rapoport is the Manager of Health Coaching and Lifestyle Programming at Blum Center for Health in Rye Brook, NY. She combines her graduate work in Developmental Psychology with her education in nutrition, health and coaching to create highly individualized programs that result in lifetime change. A contributing author to three international bestselling books, Melissa’s greatest joy is her relationship with her two daughters.

Posted on

Start Your Day with a Taste of the Tropics Smoothie

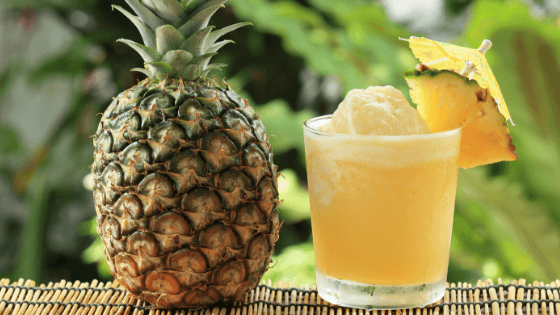
Start your day with a smoothie that will make you smile! This colorful and refreshing pineapple kale smoothie is a great way to add greens into your breakfast routine with a taste of the tropics.  Kale has detoxifying benefits for the liver and pineapple is loaded with digestive enzymes that are good for the stomach. The coconut oil provides your body with healthy fats and a flavor that instantly transports you to a tropical island getaway.  A VitaMix-type blender is the best blender to achieve a smooth consistency. There’s happiness in every sip!

Wondering how to pick a ripe pineapple?

It’s pretty easy, actually. Just follow these three steps and you’ll be choosing perfectly sweet, slightly tangy pineapples: 

Check the color — The exterior of a pineapple changes from green to yellow as it ripens. The more yellow the exterior, the more ripe the fruit. Once it starts to turn an orangish color, it’s gone too far. 

Give it a gentle squeeze — A ripe pineapple will “give” a little bit when you squeeze it. If it’s hard, leave it at the grocery store!

Smell it — If it passes your color and squeeze test, sniff the base of the pineapple. If it smells sweet and fruity, you’re good to go. If it smells funky, or like vinegar, it’s past its prime.

Pineapple Kale Smoothie

Ingredients

  • ½ cup coconut water
  • 1 tsp coconut oil
  • ½ cup seeded and diced cucumber
  • 1 cup fresh pineapple
  • 1 cup loosely packed kale, washed, stemmed and chopped
  • ½ tsp lime juice

Preparation

Blend all ingredients in a blender until smooth. Serves 1-2.

Serving Size: 1 cup

ENJOY!


Do you find that you start eating healthy but get derailed? Consider private coaching! I help people attain their goals by unraveling those self-sabotaging behaviors that get in the way. Let’s play! I’ll help you create new habits that lead to long-term change. Get what you want. Finally. Check out CoachMe

Meet Melissa: Melissa Rapoport is the Manager of Health Coaching and Lifestyle Programming at Blum Center for Health in Rye Brook, NY. She combines her graduate work in Developmental Psychology with her education in nutrition, health and coaching to create highly individualized programs that result in lifetime change. A contributing author to three international bestselling books, Melissa’s greatest joy is her relationship with her two daughters. To learn more about Melissa’s coaching practice at Blum Center for Health, click here.

Posted on

Blueberry Lime Margarita Anyone? It’s our New Summer Go-To!

It’s so easy to overindulge in alcoholic drinks in the summer. Who doesn’t love cocktails with friends when it’s balmy outside and light well into the evening. This summer, why not drink to your health? It’s easy to reduce your alcohol consumption by discovering a fav mocktail. Put it in your favorite cocktail glass, add a garnish, and voila, you will have a satisfying non-alcoholic drink. 

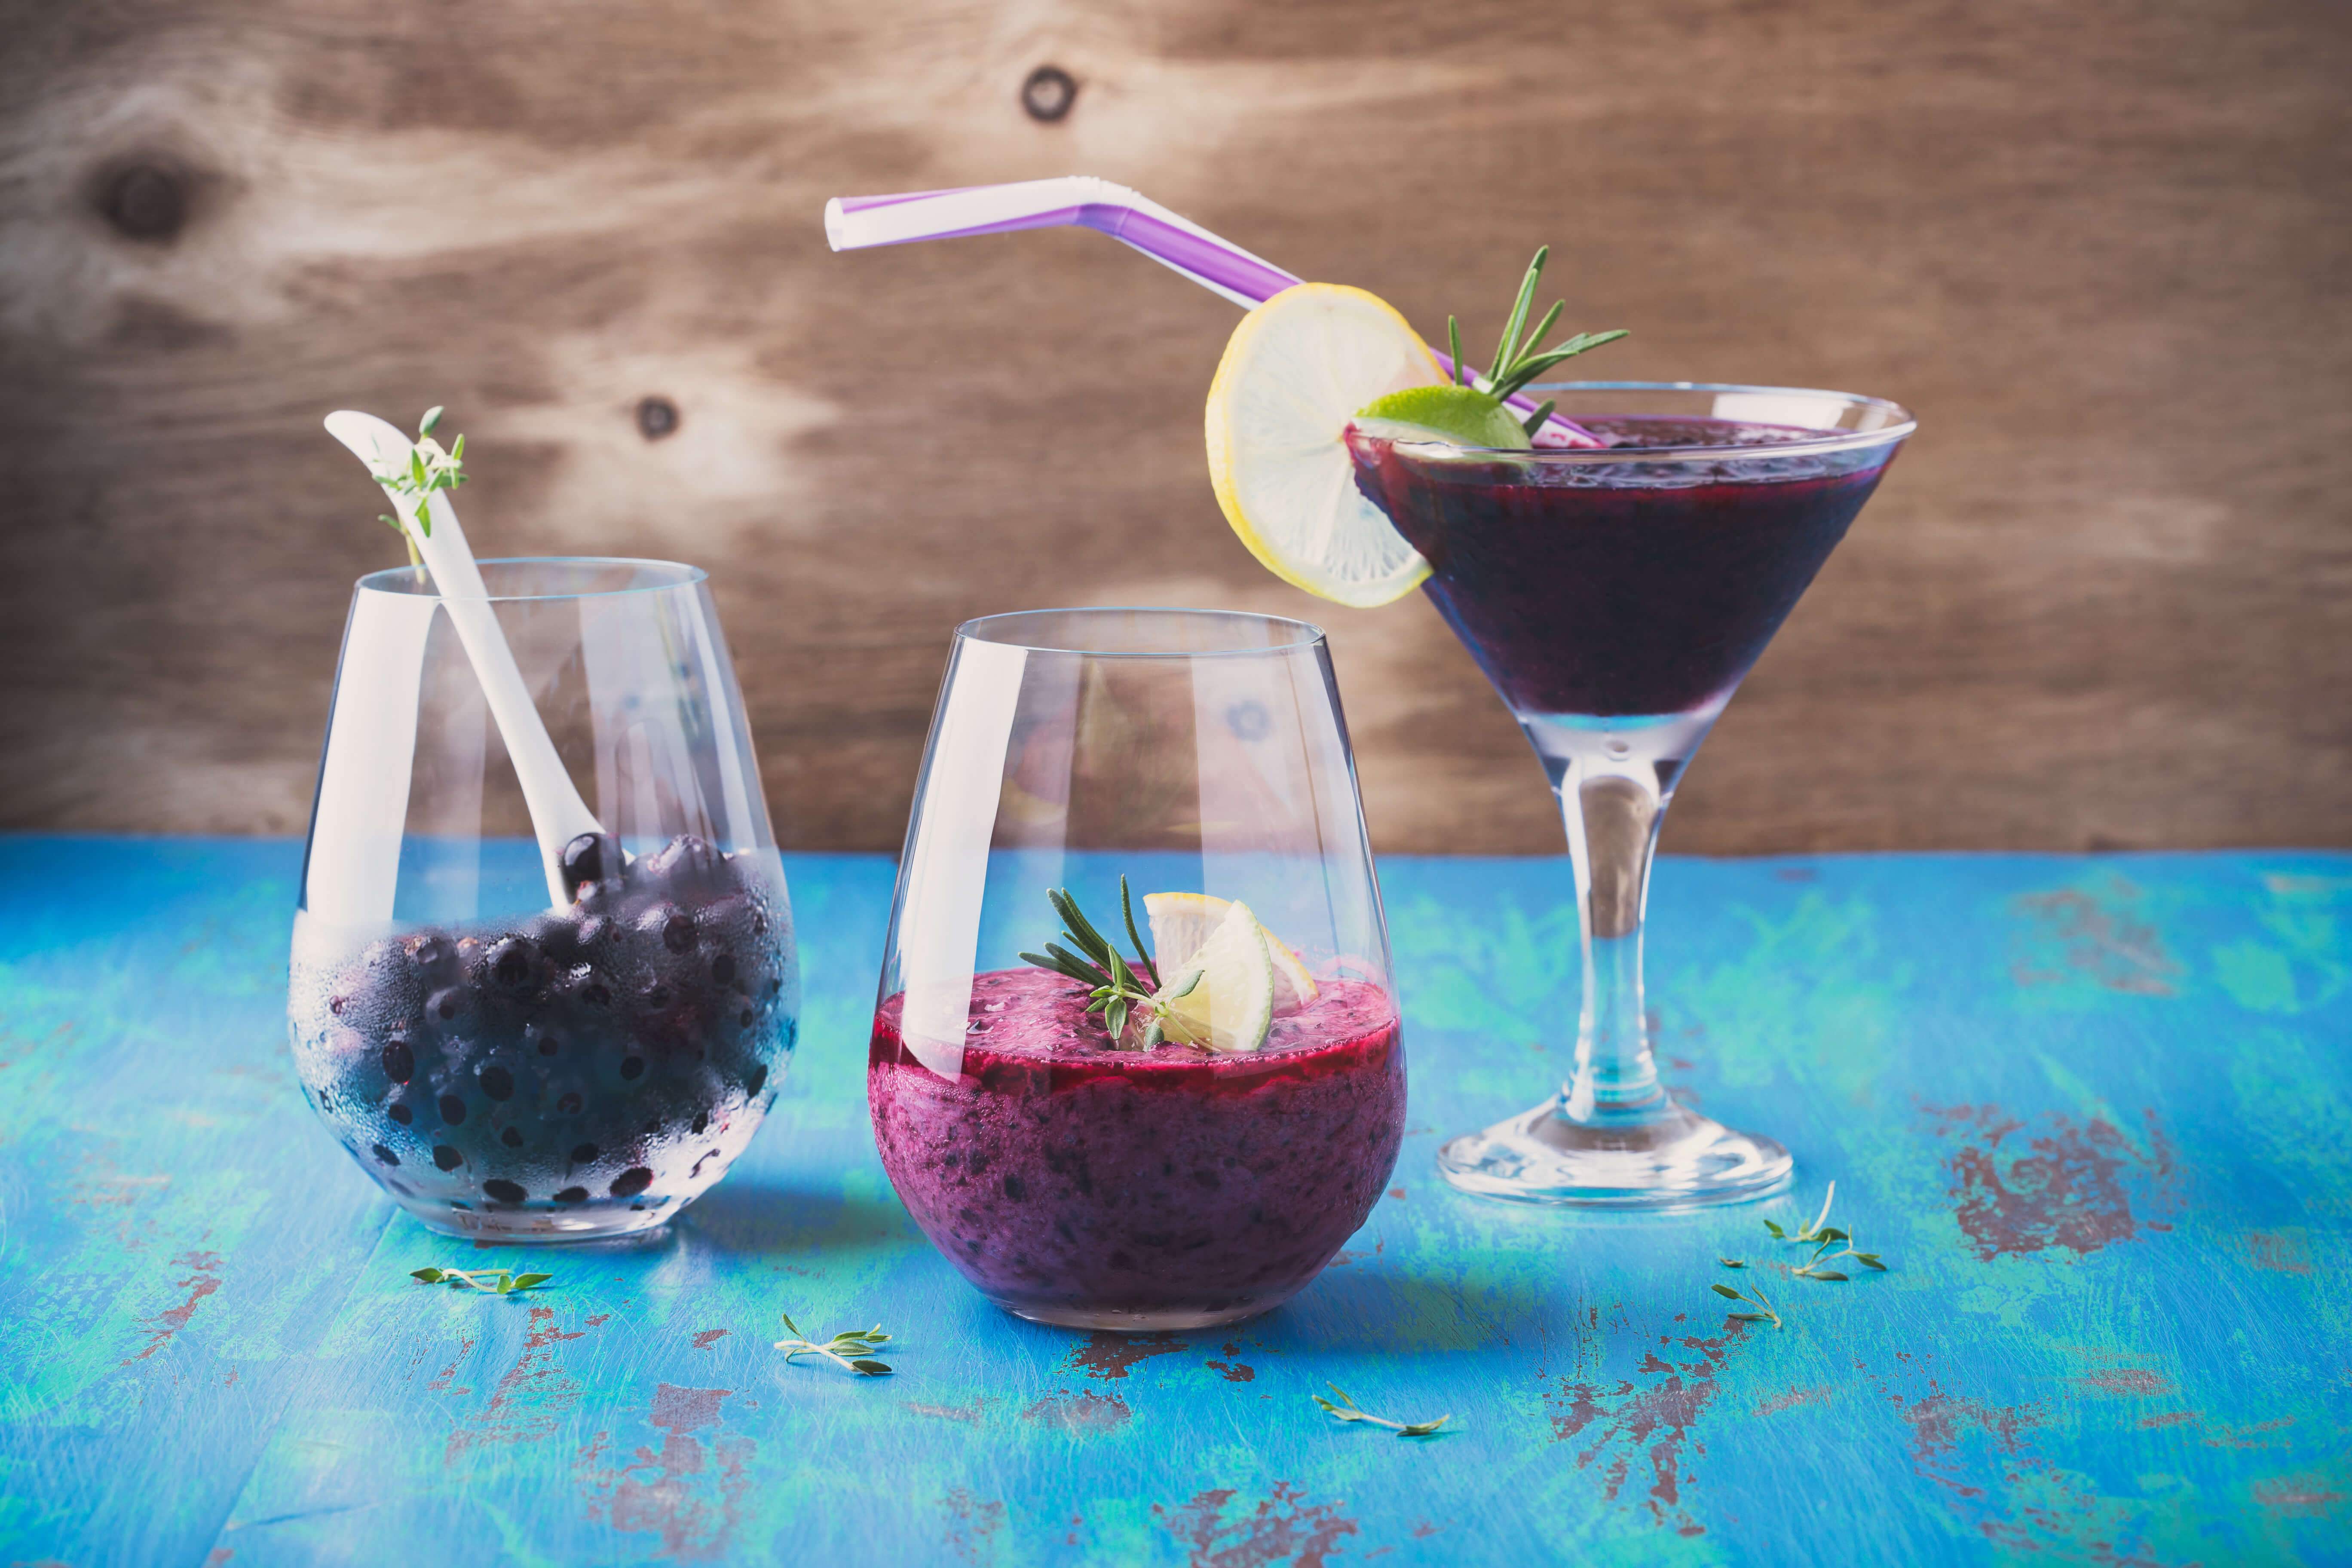
Try our Blueberry-Lime Margarita — it’s a breeze to make!  It will give your body ample potassium to help manage fluid and energy balance and loads of health supportive antioxidants-all without the excessive calories and refined carbohydrate of traditional margaritas. The unbelievable flavor will easily satisfy any summer fruity drink craving, too. Cheers!

While we are on the topic of cocktails, here’s a common question: It’s summer and I really want a cocktail, will having one ruin all my hard work? Find out here. 

Blueberry Lime Margarita

Servings: 4

Ingredients

4 cups ice

 2 cups organic frozen blueberries

1/2 cup organic unsweetened pomegranate juice

1/2 cup seltzer

1/2 cup fresh organic lime juice

4 organic lime wedges, for garnish

sea salt, for garnish (optional)


Preparation:

  •  In a blender, place the ice, blueberries, juice, seltzer, and lime juice
  • Blend until smooth
  • If salting the rim of the margarita glasses, rub a lime wedge around the 
  • rims of 4 glasses.  
  • Dip rims lightly in sea salt
  • Pour Margarita into glasses and place lime wedges on the rim of 
  • the glasses
  • Serve and enjoy! 


Meet Melissa: Melissa Rapoport is the Manager of Health Coaching and Lifestyle Programming at Blum Center for Health in Rye Brook, NY. She combines her graduate work in Developmental Psychology with her education in nutrition, health and coaching to create highly individualized programs that result in lifetime change. A contributing author to three international bestselling books, Melissa’s greatest joy is her relationship with her two daughters. To learn more about Melissa’s coaching practice at Blum Center for Health, click here.

Posted on

Make Ghee in 1,2,3!

Homemade Ghee

Ghee is another name for clarified butter and is a traditional healing food in India. It is made by heating butter until it liquefies. The milk solids are removed, making it suitable for those who are dairy sensitive. You can also buy it already made in health food stores and Indian markets or you can try our ghee recipe below.  Traditionally, ghee has been used for ulcers, constipation, would healing and soothing the digestive track.

To learn more about the benefits of ghee check out: Fall in Love with Ghee: Healthy, Dairy-Free and Tastier Then Butter

Ghee Recipe:

1 pound unsalted organic butter

1. In a medium saucepan, heat butter on medium heat.

2. The butter will melt and then come to a boil. You will hear the butter snapping and crackling as it boils.

3. It will begin to foam at the top. Remove the foam with a spoon and discard.

4. After about 15-20 minutes you will hear the “voice” of the ghee change. It will get quieter. You’ll see the oil become clear rather than cloudy.

5. Take it off the heat and strain it through cheesecloth or use a mental coffee filter and filter paper. You can wait 15 minutes or do this immediately. It’s hot, so be careful.

6. Put into a ceramic, glass, or stone bowl and cover. This ghee will last for about a year unrefrigerated.

Reprinted with permission from Liz Lipski, PhD, CCN

This recipe can be found in Dr. Susan Blum’s groundbreaking book, The Immune System Recovery Plan (LINK TO BOOK). It is her 4-step plan to achieving optimal health and features 40 delicious recipes.  Check it out HERE.

Posted on

Sesame Kelp Gomasio

Gomasio Sesame Recipe

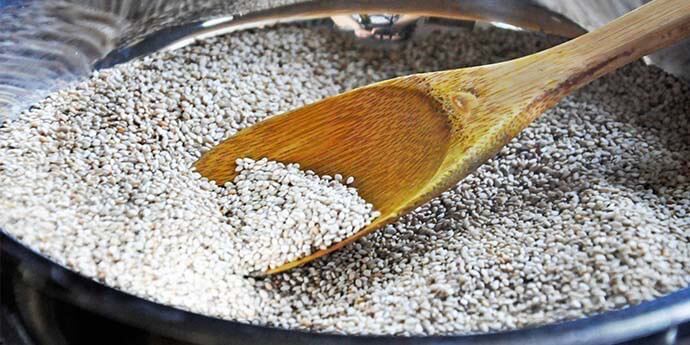
Sesame seeds are excellent for healing the thyroid. To boost its potency, we’ve added the sea vegetable kelp to our gomasio recipe for added minerals and thyroid support!  Try this salty condiment on your raw cruciferous vegetables, or as a garnish on salads, soups, noodles, and other vegetables.

Serves 12 Tablespoons

Ingredients 

  • 1/2 cup, sesame seeds – toasted
  • 1/4 cup, kelp – toasted
  • 1/2 tsp, sea salt with iodine

Directions

  • In a mortar, grind the sesame seeds, kelp, and salt together until well combined, but not into a paste. If you don’t have a mortar and pestle you can blend this in a coffee grinder in two batches.
  • Store in an airtight container.
Posted on

Detoxing Deliciously: Shrimp Masala

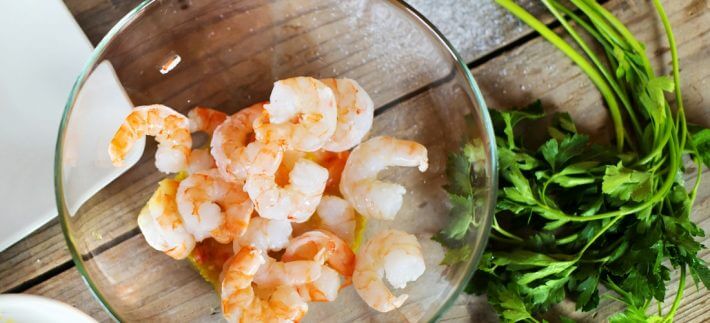
Bowl of Shrimp

For your weekly fish dish, we love this low-mercury, flavorful recipe rich in nutrients that will help your body clear out toxins.

Serves 4

Ingredients

  • 2 tbsp coconut oil
  • 2 tsp cumin seeds
  • 2 red chili peppers – dried
  • 11/2 cups onion – diced
  • 1 1/2 tbsp fresh ginger – minced peeled
  • 2 tsp garlic – minced
  • 2 tsp coriander – ground
  • 11/2 tsp, cumin – ground
  • 1/2 tsp turmeric – ground
  • 1/2 tsp cayenne pepper
  • Pinch Salt and freshly ground black pepper
  • 1 14-ounce can tomatoes – diced
  • 1 lb medium shrimp – peeled and deveined
  • 1 cup coconut milk
  • 1/4 cup cilantro – chopped

Directions

  • Heat the coconut oil in a large skillet over medium-high heat. Add the cumin seeds and red chilies and cook, stirring, until the fragrant, about 30 seconds.Add the onion and cook until lightly browned, about 5 minutes. Then add the ginger, garlic, coriander, cumin, turmeric, and cayenne, and season with salt and pepper. Cook until dark and fragrant, about 3 minutes more.
  • Add the tomatoes and cook until somewhat soft, about 3 minutes. You can make the sauce up to this point a day ahead.
  • When ready to serve, heat the sauce over high heat. As soon as it starts to bubble on the edges, add the shrimp and cook, stirring, until the shrimp turns opaque. Lower the heat, gradually stir in the coconut milk, and gently heat it through – do not allow to boil.
  • Season to taste with salt and pepper. Transfer to a serving platter, garnish with cilantro and serve over rice or quinoa.